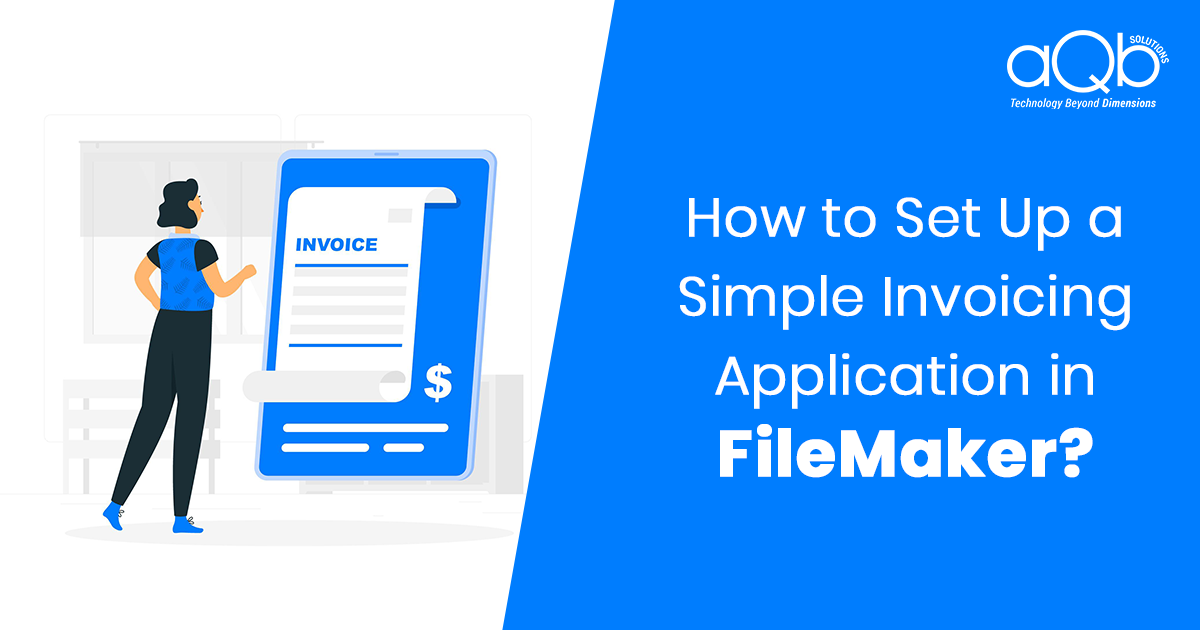
In the last article- Steps to set up a Simple Invoicing Application in FileMaker, you have seen how you can create a simple invoicing application in FileMaker.
Our FileMaker Development team has enhanced the invoicing application after the publishing of this blog.
Therefore, in this article, you will get a clear overview of some of the enhancements that we have done in the invoicing application. You will see some of the important functionalities and how we have implemented them, the database modifications, and some important layouts.
Database:

In the enhanced version of the invoicing application, we have added some database tables and modified some of them.
The following diagram shows the tables, fields and the relationship between them.
Database Relationship:
Important Functionalities
In the current invoicing application, we have added a few functionalities or modified some existing functionalities. Let us see some of these functionalities and how we have incorporated them in the current application.
Functionality: PDF Generation of Invoice
We have generated a PDF file for the sales invoice that is generated in the application. In the following section, you will take a look at the steps that illustrate how we have generated the PDF of the sales invoice.
Steps to generate a PDF file for the invoice
Step 1: Place a button in the header section of the invoice layout.
Step 2: Double click on the button to open the button setup.
Step 3: In the button setup Choose Single Step as an option in the Action section.
Step 4: Once you choose Single Step option, it opens up the button action window which allows you to enter the script
Step 5: Script: Save Records as PDF [Restore; With Dialog: On; Records being browsed]
Step 6: Press OK to save
Now you can generate the PDF file from the sales invoice.


Functionality: Google Map Integration
We have integrated google maps with our invoicing application to indicate the location of the client’s address.
In the following section, you will take a look at the steps that illustrate how we have integrated google maps in our invoicing application.
Step 1: Go to client details layout of the client table
Step 2: Drag and drop web viewer tool into the body
Step 3: Double click on web viewer in the body to open the web viewer setup
Step 4: Web viewer setup : In the Choose a website section, Choose a value such as Google Maps(US)
Step 5: Web viewer setup : Specify the field names for sections such as Address, City, State, Zip Code, Country. This will populate these sections from the values in the respective fields of client table.
Step 6: Web viewer setup : Check the checkboxes for Allow interaction with web viewer content and Automatically encode URL.
Step 7: Click OK To save the Web Viewer Setup values
Now, once you run the application, the Location Map is automatically populated with the exact location of the client’s address in google maps.

Functionality: Search
In our application, we have implemented search functionalities in multiple sections. In this article, you will see the implementation of one such search functionality. This search functionality was implemented to search previously generated sales orders according to categories such as Order Id, Purchaser, Date, and Order Status using a popover button.
Steps to implement the search functionality:
Step 1: Popover button
Choose Popover button from the Insert menu

Resize this popover button according to your requirements
Double click on the popover button to get into the popover button setup
Select the image of the button from the list of images displayed
Give a title to the button
Step 2 : Use the field picker menu to insert the search fields from the desired table (Search_Orders) in the popover button.
Step 3: Use the field picker menu to insert the text field “Search_Orders” in the popover button

Step 4: Select “Search_Orders” and click on Inspector tool.
Step 5: In the inspector tool, select “Radio Button Set” in the Control Style section.
Select “Search_Orders” value list from the Values from the section.
(Click on the edit button to edit the “Search_Orders” value list, if needed.)
The field Search_Orders in the Sales_Order table is a global field.

Step 6 : Right Click on “Search_Orders” and select Set Script Triggers option.
Select OnObjectSave in the specify a script to be run for an event section.
Click on the Select option and select the script “search order 1” and click OK.
Click on Browse in Enable in option.
Click OK
The “search order 1” script is described below.
Script Name: search order 1
Description:
This script is triggered when the user selects a particular search category
It is used to display the corresponding search field when the user selects the category.
Script :
[code lang=”js”]<br />If [SALES_ORDER::Search_Orders = “ORDER ID”]<br />Go to Field [ SALES_ORDER::Search_Orders_id]<br />End if<br />If [SALES_ORDER::Search_Orders = “PURCHASER”]<br />Go to Field [ SALES_ORDER::Search_Orders_purchaser]<br />End if<br />If [SALES_ORDER::Search_Orders = “DATE”]<br />Go to Field [ SALES_ORDER::Search_Orders_date]<br />End if<br />If [SALES_ORDER::Search_Orders = “ORDER STATUS”]<br />Go to Field [ SALES_ORDER::Search_Orders_status]<br />End if[/code]

Step 7 : Double click on the search button to invoke the Button Setup.
In the Action section select “search order 2” script
The search order 2 script is described below :
Script Name: search order 2
Description :
When a user selects a particular search category and clicks on the search button, in the popover button, the search order 2 script is triggered. This script is used to display the search results, based on the search category selected by the user.
Script :
[code lang=”js”]Set Variable [ $type ; Value : SALES_ORDER::Search_Orders ]<br />If [ $type = “ORDER ID” ]<br />Set Variable [$x ; Value : SALES_ORDER::Search_Orders_id ]<br />Perform Find [ Restore ]<br />End If[/code]
In this case , click on the specify find request option, which lies just next to the script Perform Find.
It opens the specify find request window .

Click on specify in this window which opens the Specify Find Requests window

Click on new to open the Edit Find Request window

In the Find records when section, select Sales_Order table .
Select Order_Id from the fields option
Click on Insert Operator
In the Criteria section, type =$x(variable name)
Click on Add
Select the field and criteria

Finally, Click on OK to Save and continue

[sourcecode language="plain"]If [ $type = “PURCHASER” ]
Set Variable [$x ; Value : SALES_ORDER::Search_Orders_purchaser ]
Perform Find [ Restore ]
End If[/sourcecode]
(Repeat the steps given above for the script Perform Find [ Restore ])
[sourcecode language="plain"]If [ $type = “DATE” ]
Set Variable [$x ; Value : SALES_ORDER::Search_Orders_date ]
Perform Find [ Restore ]
End If[/sourcecode]
(Repeat the steps given above for the script Perform Find [ Restore ])
[sourcecode language="plain"]If [ $type = “ORDER STATUS” ]
Set Variable [$x ; Value : SALES_ORDER::Search_Orders_status ]
Perform Find [ Restore ]
End If[/sourcecode]
(Repeat the steps given above for the script Perform Find [ Restore ])

Functionality : Send Mail
This functionality allows you to send an email to the client along with invoice.pdf as an attachment.
Step 1: Place a button in the header section of the invoice layout.
Step 2: Double click on the button to open the button setup.
Step 3: In the button setup Choose Perform Script as an option in the Action section.

Step4: Once you choose Perform Script option, it opens up the Edit Script window which allows you to enter the script
(First, you have to write the script , and then you can choose the script)
Step 5: Enter the script as given below
Script :
Save Records as PDF [Restore ; With Dialog: On ; Records being browsed]
Send Mail [ Send via E-mail Client ; With dialog On ; To ; Client:: Email; Subject : “SALE INVOICE DETAILS”;
Message: “YOUR INVOICE IS ATTACHED BELOW ”; “Invoice.pdf” ]
Click on the button adjoining the script : For the script, Save Records as PDF.
This opens the option window as shown below .

Click on specify an output file to open the specify output file window
In the text box type the name of the attachment , I.e file : Invoice.pdf

Click OK
In the options window, click on specify options to open the Save Records as PDF options window

In the save option choose Records being browsed
Click OK to continue
Step 7: Configure the email options to send email to the client :
Click on send mail options button to open the Send Mail options window
Click on E-mail Client option in the Send Via section
Specify field name in To section
Enter your subject details in the Subject section
Enter your message in the Message section .
Click on Attach File to attach your invoice.pdf file to be send along with the email .
Step 8: Click OK to save and continue .
Step 9: Press OK to save

Functionality: Inserting values in the portal row while generating a new sales order
In this section , you will see how to show related records from other tables in a portal .
Creation of portal
Step 1 : Drag and drop a portal from the portal tool into the body
Step 2 : Double click on the portal to open the portal setup
Step 3 : Select Purchase_Details table in Show related records from option
Step 4 : Click on Allow Vertical Scrolling
Step 5 : Enter 1 in Initial Row section
Step 6 : Enter Number of rows as per your requirement
Step 7 : Click on Use alternate row state to highlight alternate rows
Step 8 : Click on Use active row state to highlight the current row
Step 9 : Click OK to save and continue

Insert fields in the empty portal
Step 1 : Click on an empty portal and go to the Field picker tool
Step 2 : Select the correponding fields from the respective tables and drag and drop the field in the portal
The fields chosen are Product, Brand_Name, Discount %, Current_Availability, Qty, Selling_Price, Subtotal, Tax, Apply_Tax, Tax_Amount, Final_Subtotal
Step 3: Drag and Drop a button and place it at the end of the portal row .
Step 4 : Double Click on the button to open the button setup
Step 5 : In the button setup Choose Single Step and Delete Portal Row in the Action section
Step 6 : In the button action insert the following script
Delete Portal Row [ With dialog: On ]
Step 7 : Click on OK to save and continue

Populate the remaining fields when you enter the product by triggering a script
Step 1 : Right click on Product field and choose Set Script Triggers to open the Set Script Triggers window
Step 2 : In the Set Script Triggers window, Click on OnObjectSave in the Specify a script to be run for an event section
Step 3 : In the Script Trigger Properties choose Select option in script section to open the Specify Script window .
Step 4 : Select insert check script and click OK to save and continue


Script Name: insert check
[sourcecode language="plain"] Set Variable [ $itemsqty ; Value ; Product_Details::CURRENT_AVAILABILITY ] Set Variable [ $max_id ; Value: ExecuteSQL ( “select max(id) from Tax_Rate” ; “” ; “” ; “” ) ] Set Variable [ $tax_rate ; Value: ExecuteSQL (select Tax_percent from Tax_Rate where id=?” ; “” ; “” ;&amp;amp;amp;amp;amp;nbsp; $max_id )] Set Field [ Purchase_details::TAX ; $tax_rate ] If [$itemsqty&amp;amp;amp;amp;amp;amp;lt;1] Show Custom Dialog [“REGRET!!” ; ”PRODUCT OUT OF STOCK”] Delete Portal Row [With dialog off] End If[/sourcecode]
Layout: Additions and changes
In this enhanced invoicing application, we have modified existing layouts and added a few of them . In this section, you will see a few important layouts that we have used .
LAYOUT : CLIENT DETAILS
Details: This layout shows the details of a particular client

LAYOUT : SALES ORDER:
Details:
This layout is used to initiate a new order for a particular client from client details layout.

LAYOUT : INVOICE
Description: It generates the invoice of a particular sales order.

LAYOUT : SALES ORDER LIST :
Description: This layout shows the list of all the previously generated orders.
When the user selects a particular sales order, he is directed to the sales order layout.

LAYOUT : PRODUCT DETAILS
This layout shows the details of a particular product


LAYOUT : COMPANY DETAILS
Details: This layout shows the details of our company.

Hope this article has helped you in creating an enhanced invoicing application .
Keep watching this section for more enhancements in the invoicing application, in future.
Happy Reading!